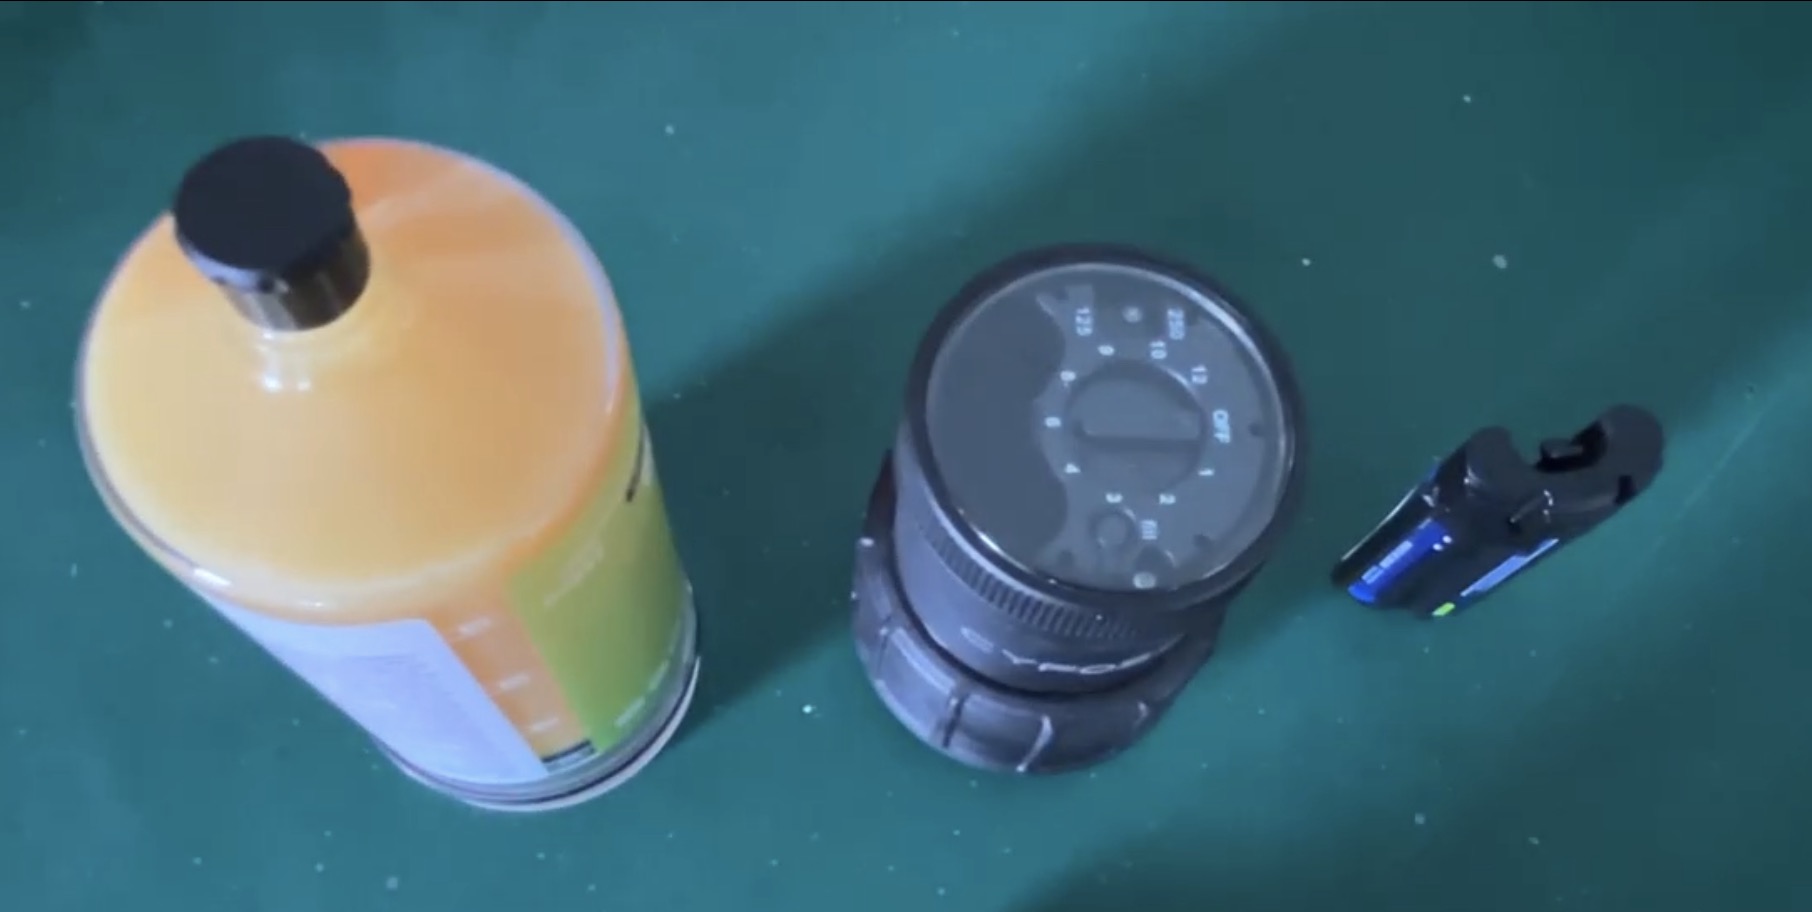
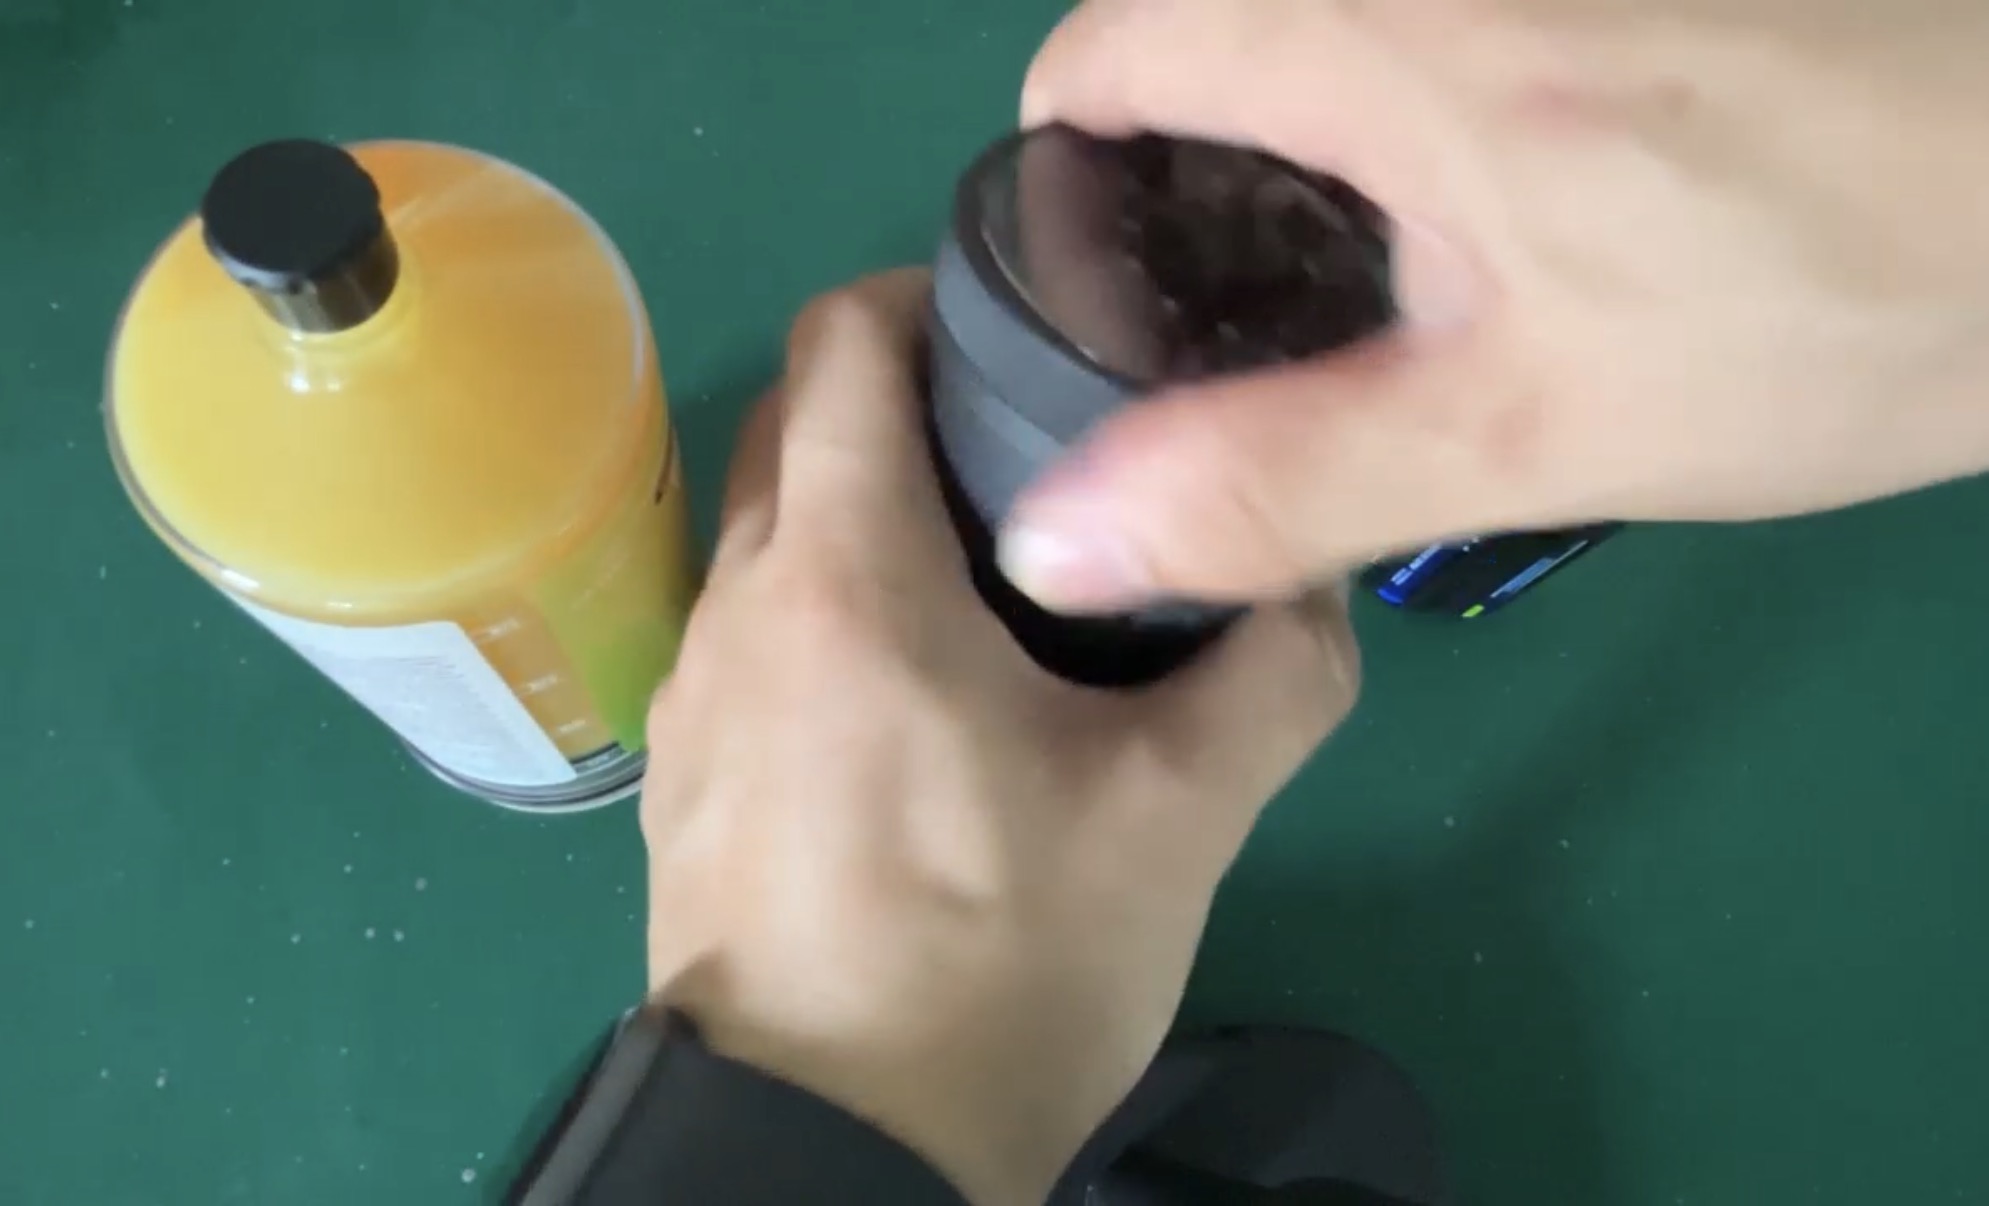
이노루브 자동 윤활 장치의 단계별 설치 안내입니다.
Step-by-step installation guide for INNO LUBE automatic lubricators.
4단계로 간편하게 설치를 완료할 수 있습니다.
Complete the installation in just 4 easy steps.
구리스가 충전된 카트리지(125ml 또는 250ml), 작동 드라이버 헤드(ME01), 배터리 팩(ME-BAT)을 준비합니다.
Prepare: grease-filled cartridge (125ml or 250ml), drive unit (ME01), battery pack (ME-BAT).
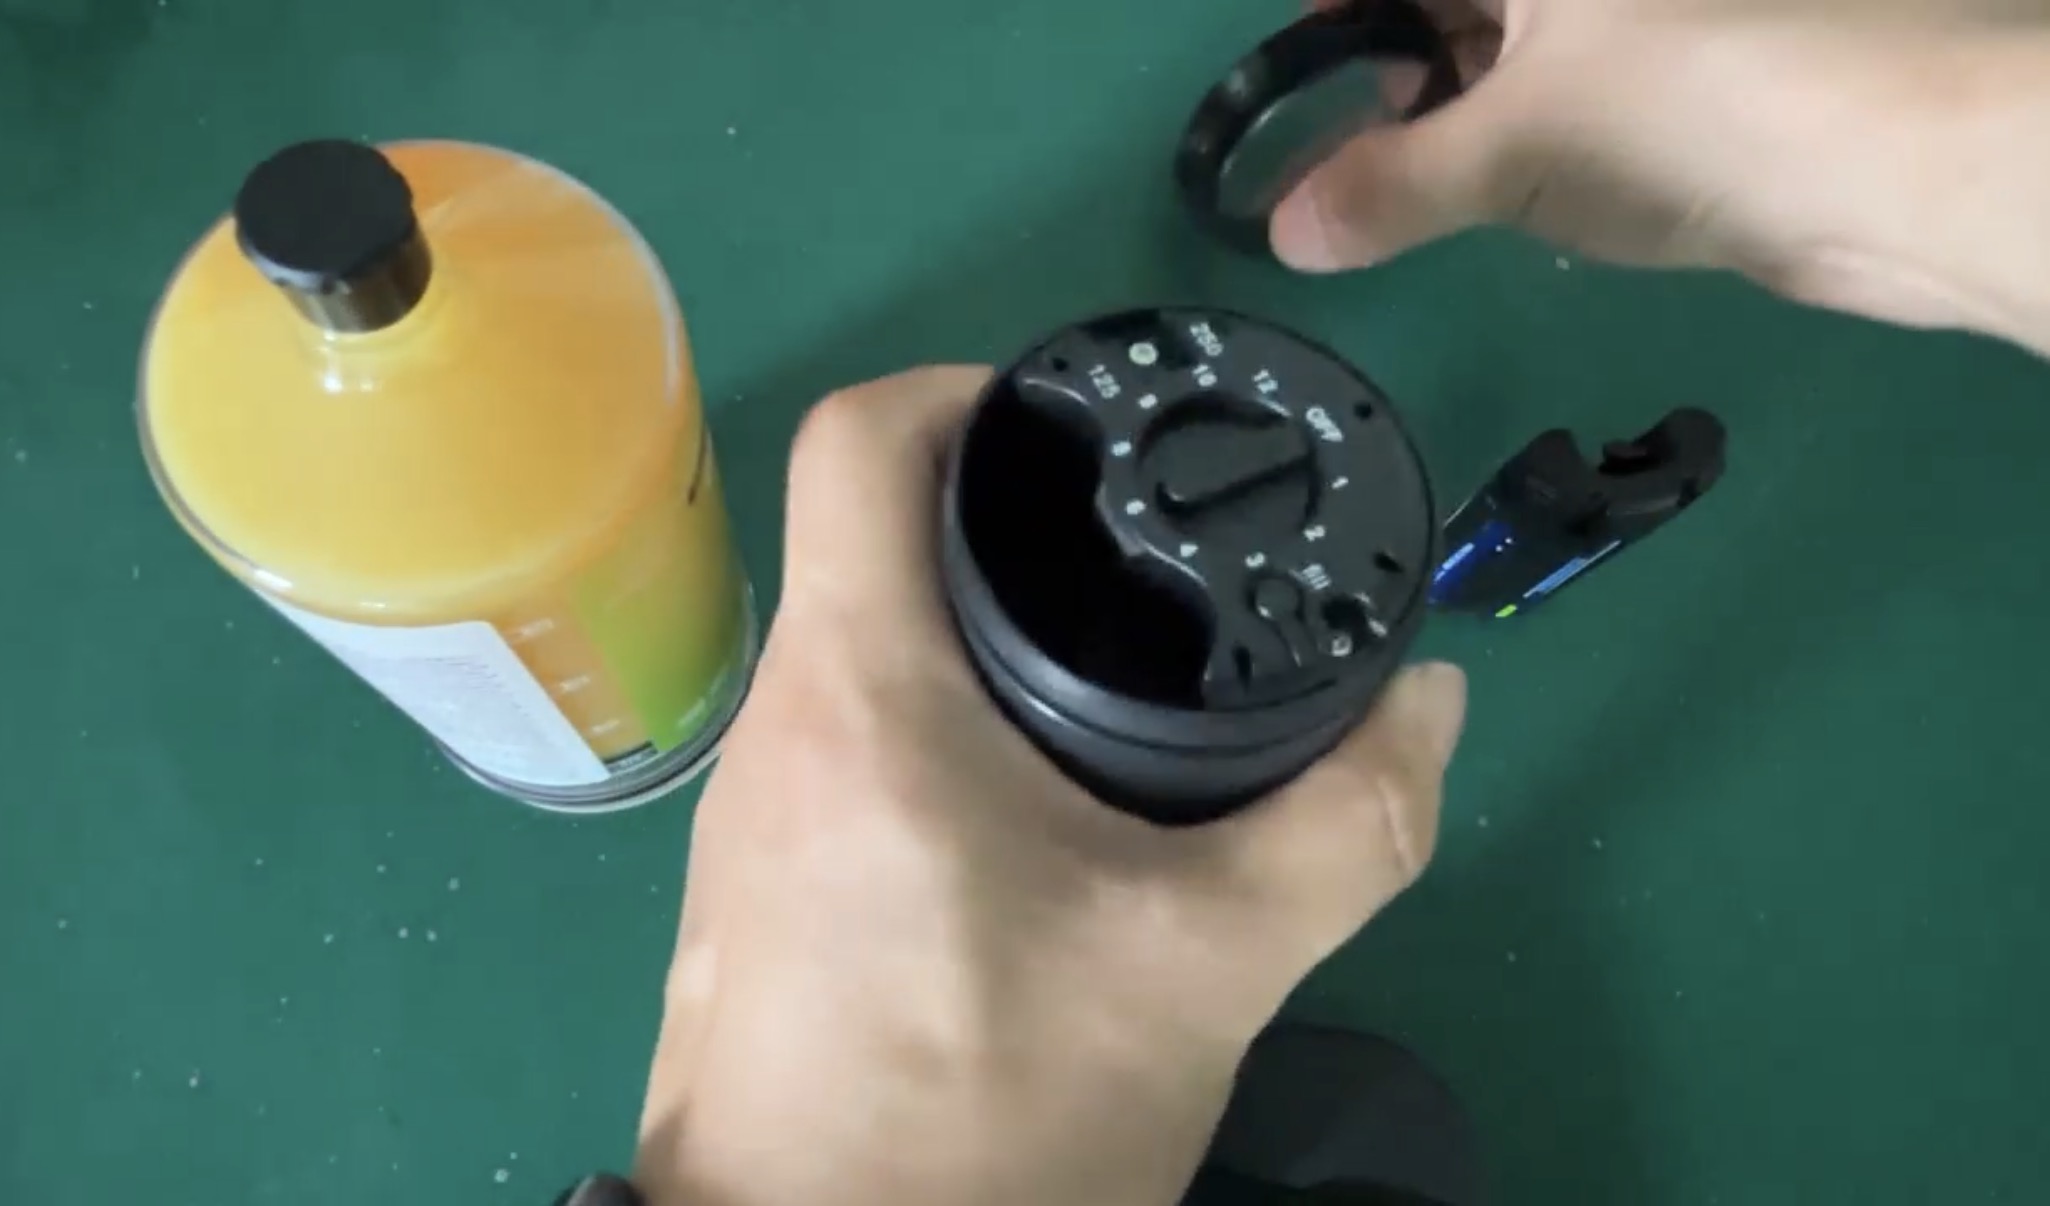
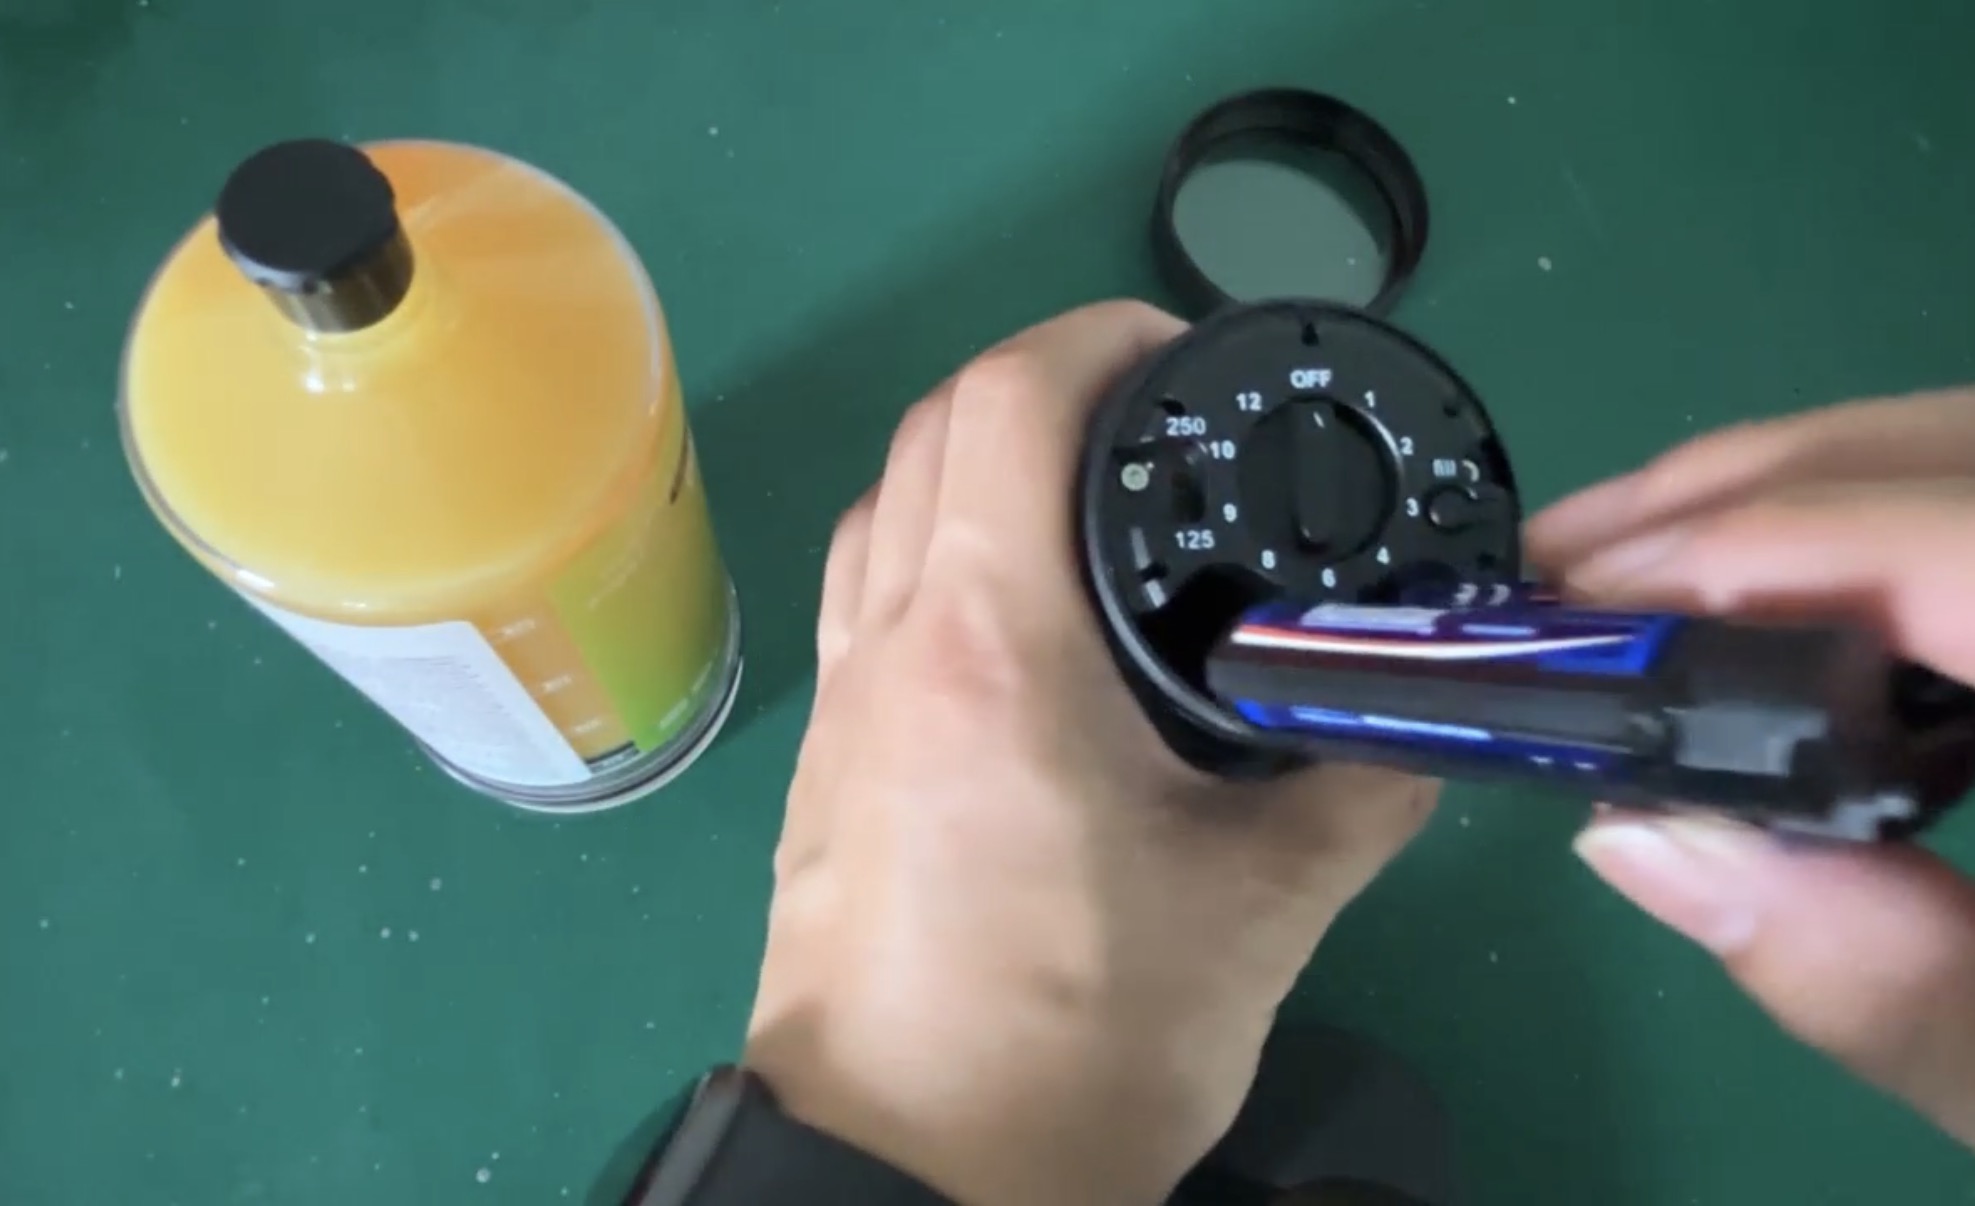
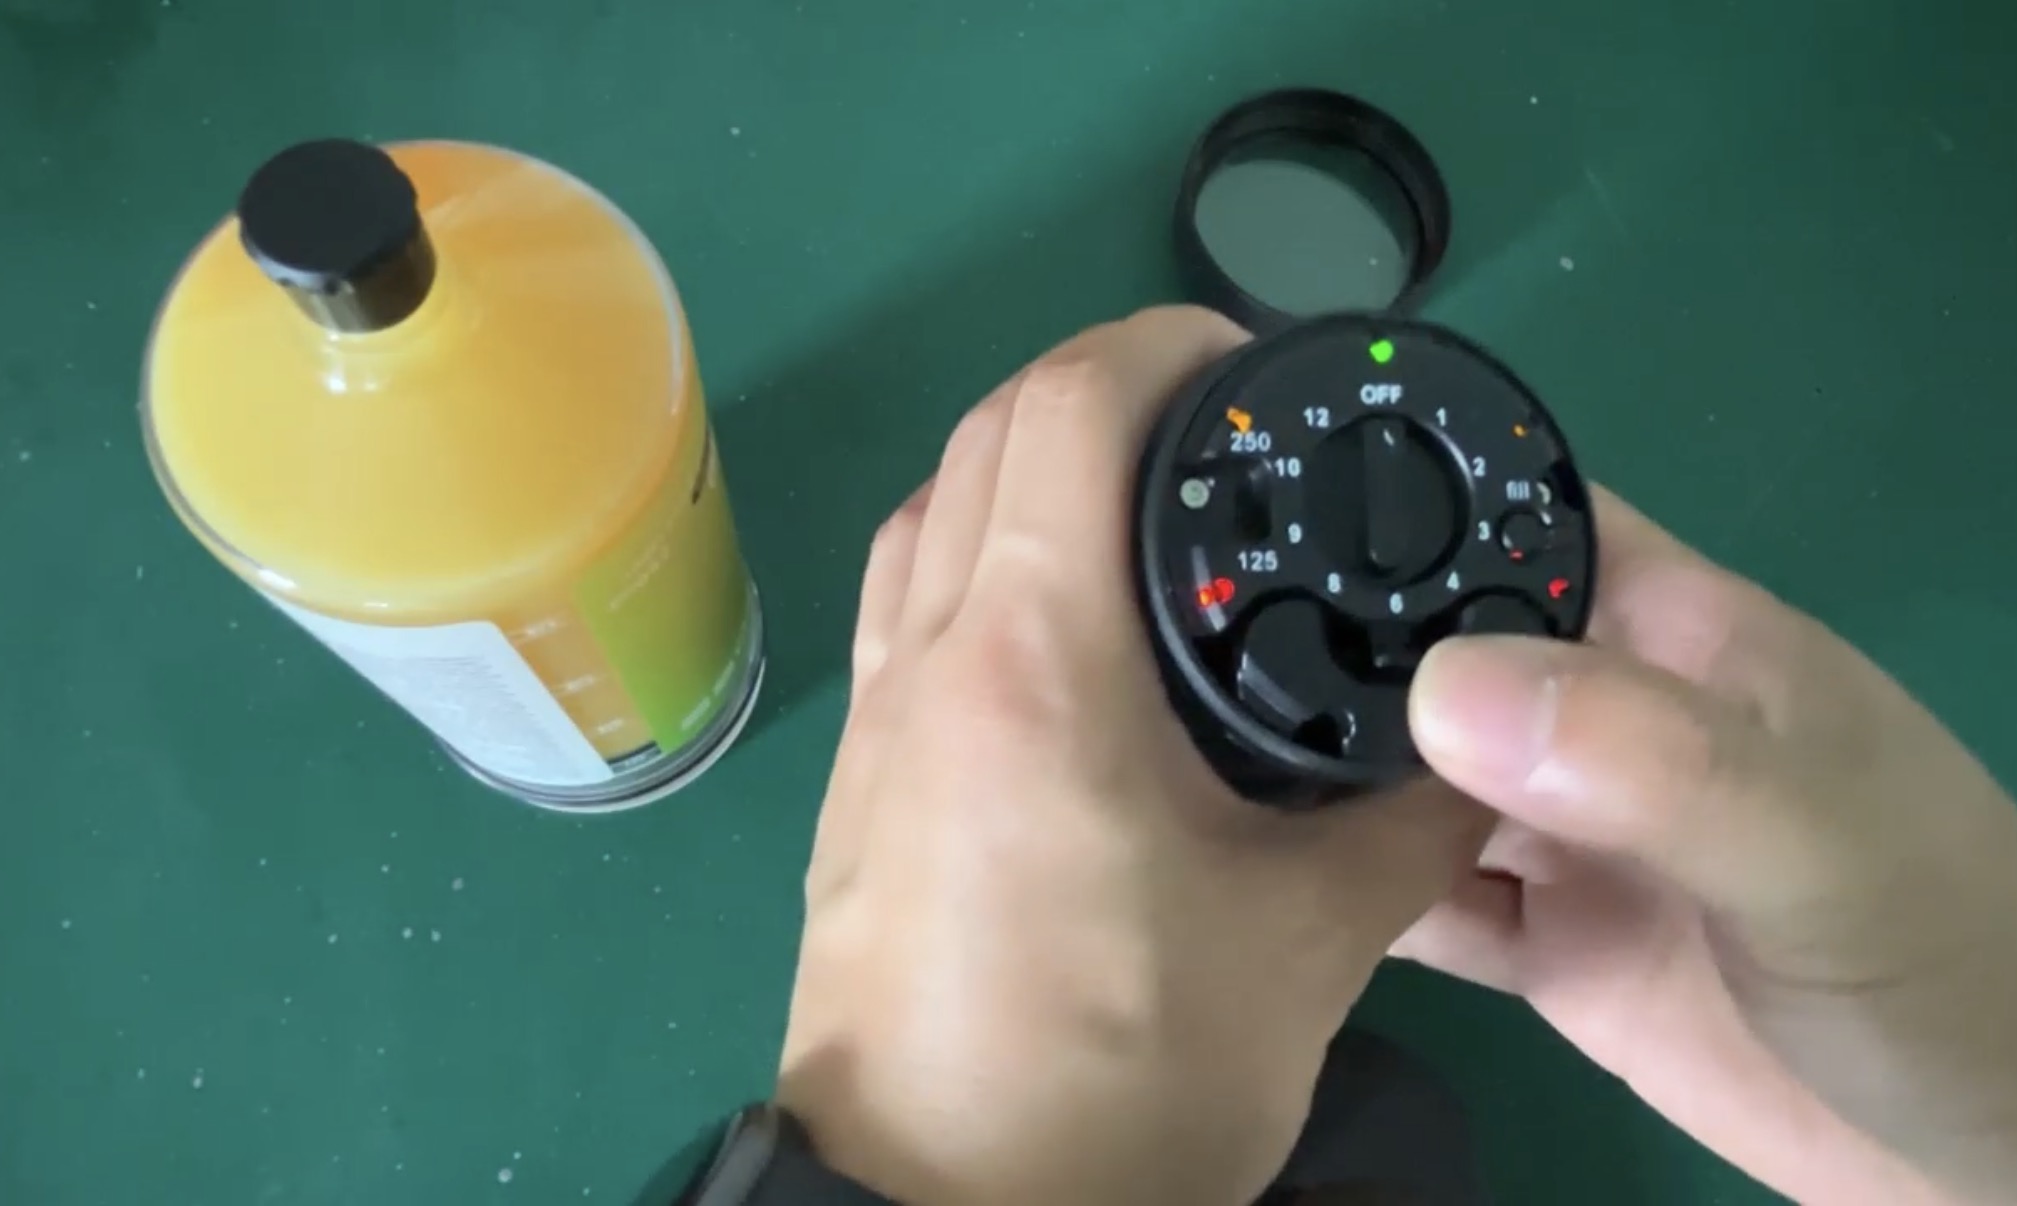
작동 드라이버 헤드의 캡을 열고 배터리를 삽입합니다. 배터리 삽입 시 각 램프 작동 여부를 확인합니다.
Open the drive unit cap and insert the battery. Verify LED indicators light up upon battery insertion.
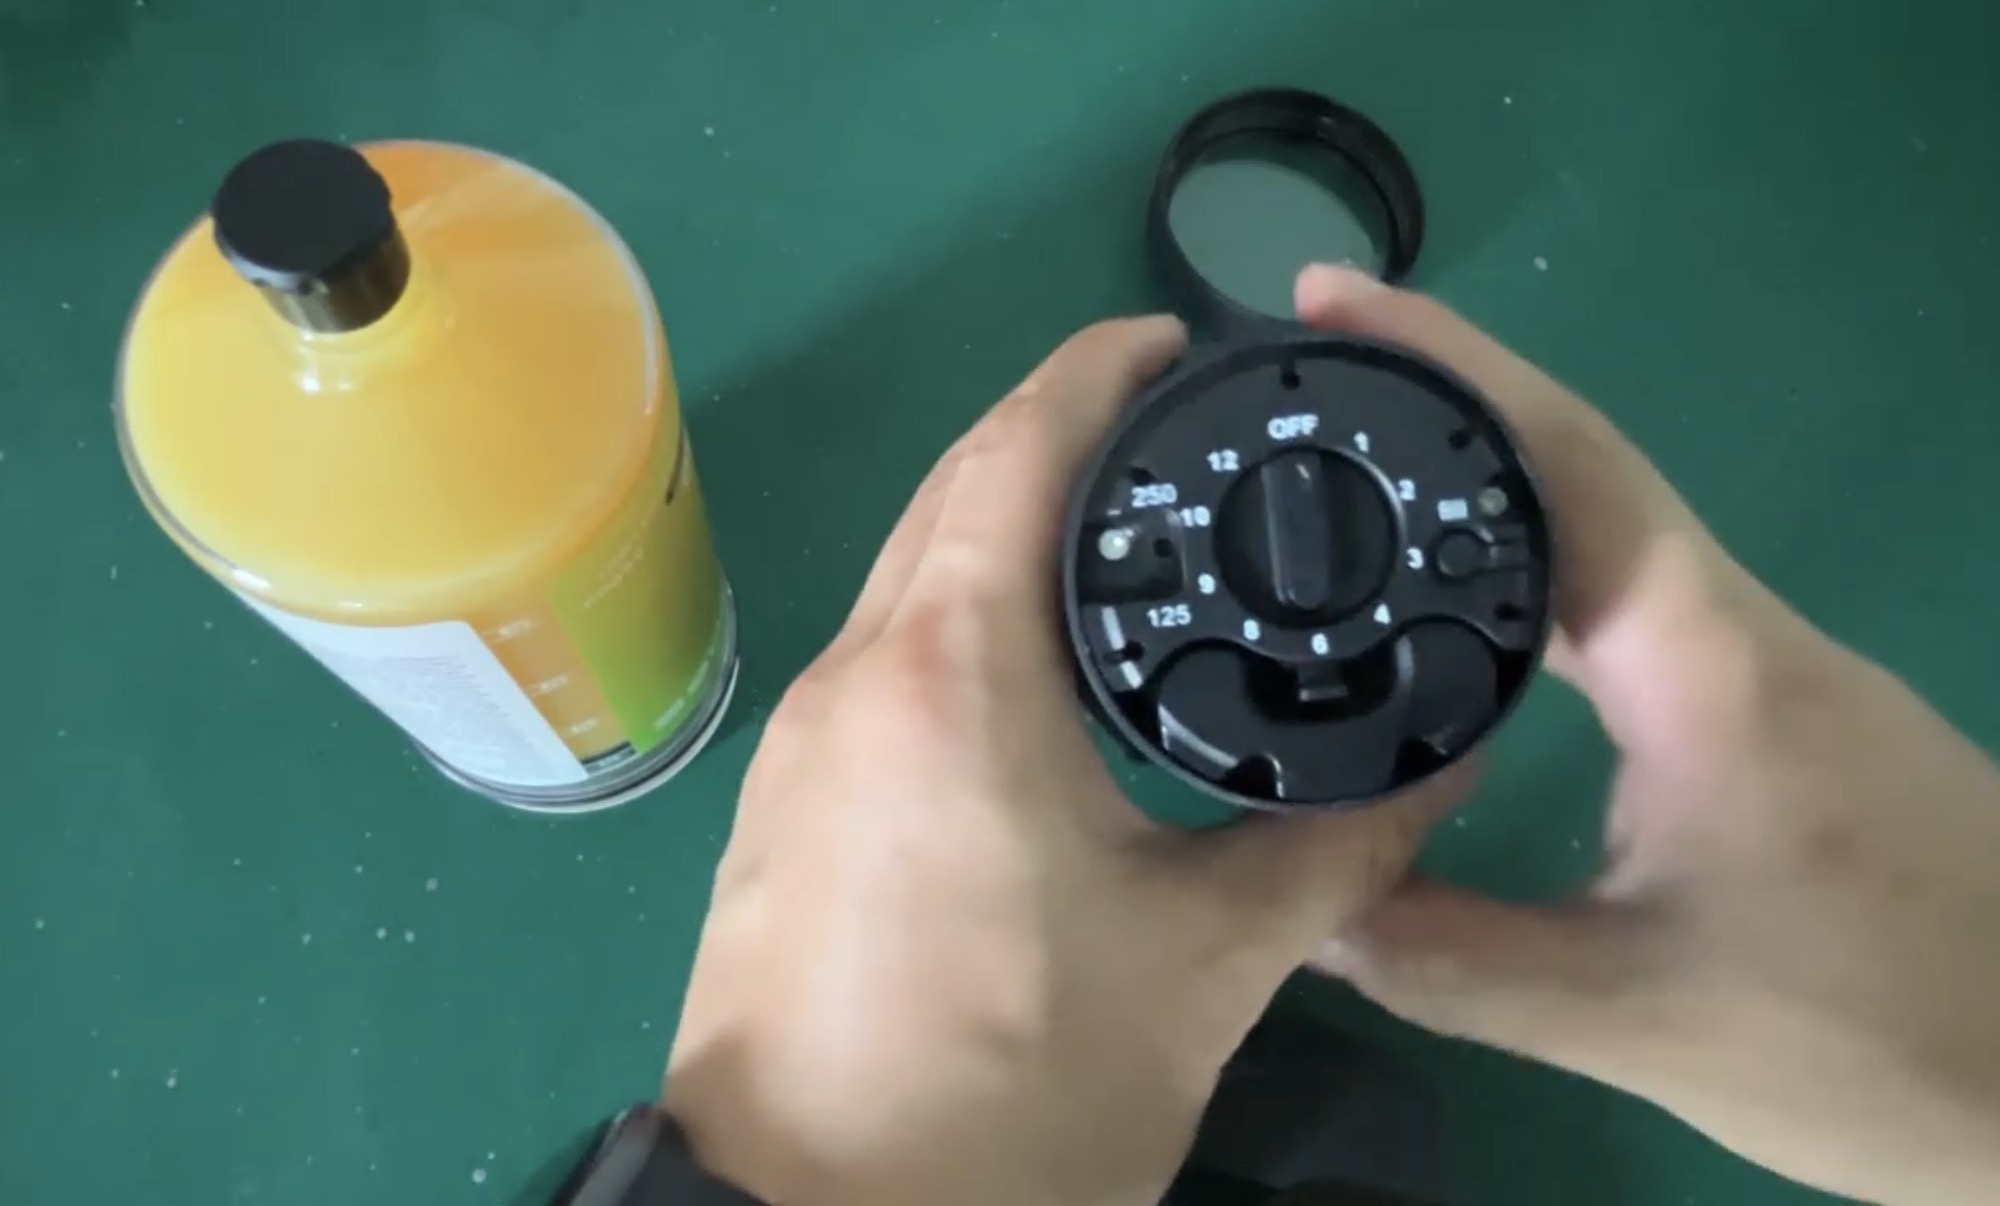
배터리 삽입 후 꾹 눌러서 고정을 확인합니다. 구리스 용기의 용량을 확인 후 원하는 개월 수를 설정합니다 (1~12개월).
Secure battery firmly. Confirm cartridge capacity and set desired dispensing interval (1–12 months).
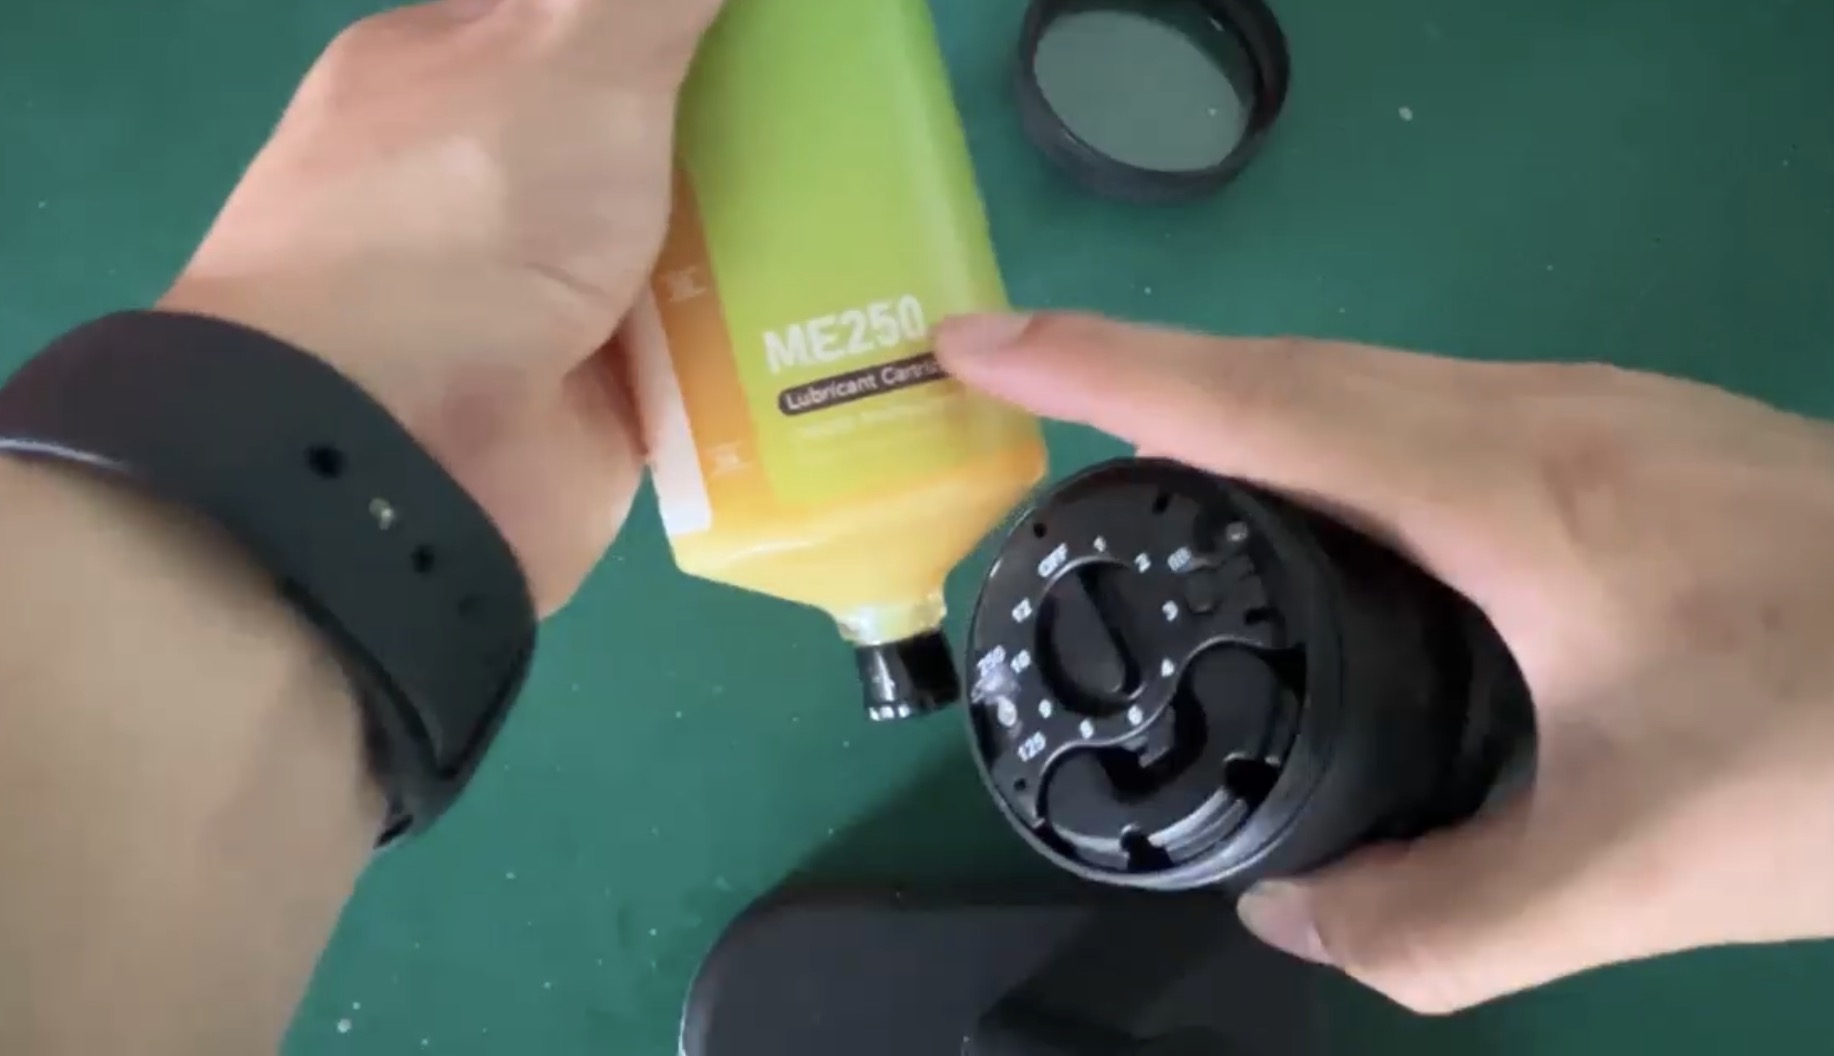
설정 완료 후 드라이버 헤드의 캡을 닫습니다. 구리스 용기와 헤드를 연결할 때 ▼ 표시가 나올 때까지 돌려서 체결합니다.
Close the drive unit cap. Connect cartridge to head by rotating until the ▼ indicator aligns.
자동 윤활 장치를 제품에 직접 연결하지 않고 호스 등을 사용하여 이격된 곳에 설치할 경우:
When installing remotely via hose:
1. Connect hose to lubrication point.
2. Press the "fill" button to pre-fill the hose with grease.
3. Confirm hose is fully primed before starting operation.
상세한 설치 설명서를 PDF 파일로 다운로드 받으실 수 있습니다.
Download the detailed installation manual as a PDF file.