설치 안내 Installation Guide

이노루브 자동 윤활 장치의 단계별 설치 안내입니다.
Step-by-step installation guide for INNO LUBE automatic lubricators.

📋

설치 전 확인사항 / Pre-Installation Check

필요 부품 / Required Parts
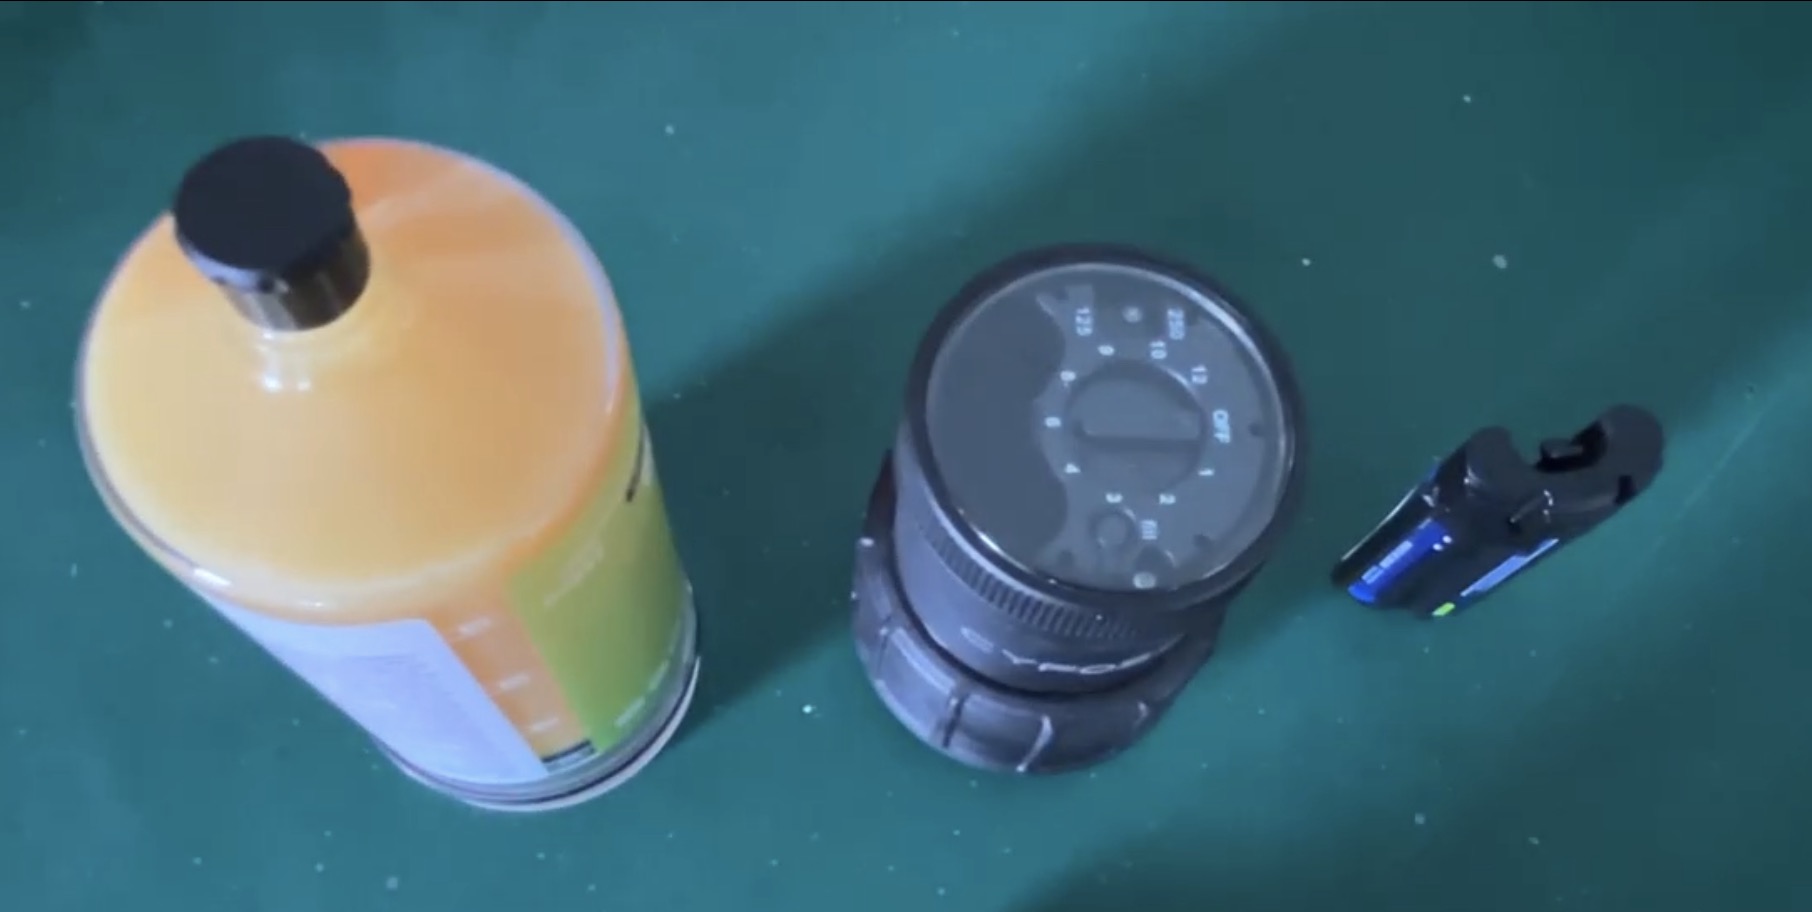
  • 구리스 충전 용기 / Grease cartridge (125ml 또는/or 250ml)
  • 작동 드라이버 헤드 / Drive unit (ME01)
  • 배터리 팩 / Battery pack (ME-BAT)
연결 규격 / Thread Specification
  • M8 또는 G1/4 나사 / M8 or G1/4 thread
  • 호스 연결 가능 / Hose connection available
  • 적용 온도: -20°C ~ +60°C

Installation Steps 설치 단계

4단계로 간편하게 설치를 완료할 수 있습니다.
Complete the installation in just 4 easy steps.

1

준비 / Prepare

Unbox & Check Parts

구리스가 충전된 카트리지(125ml 또는 250ml), 작동 드라이버 헤드(ME01), 배터리 팩(ME-BAT)을 준비합니다.
Prepare: grease-filled cartridge (125ml or 250ml), drive unit (ME01), battery pack (ME-BAT).

2

배터리 삽입 / Insert Battery

Battery & LED Check

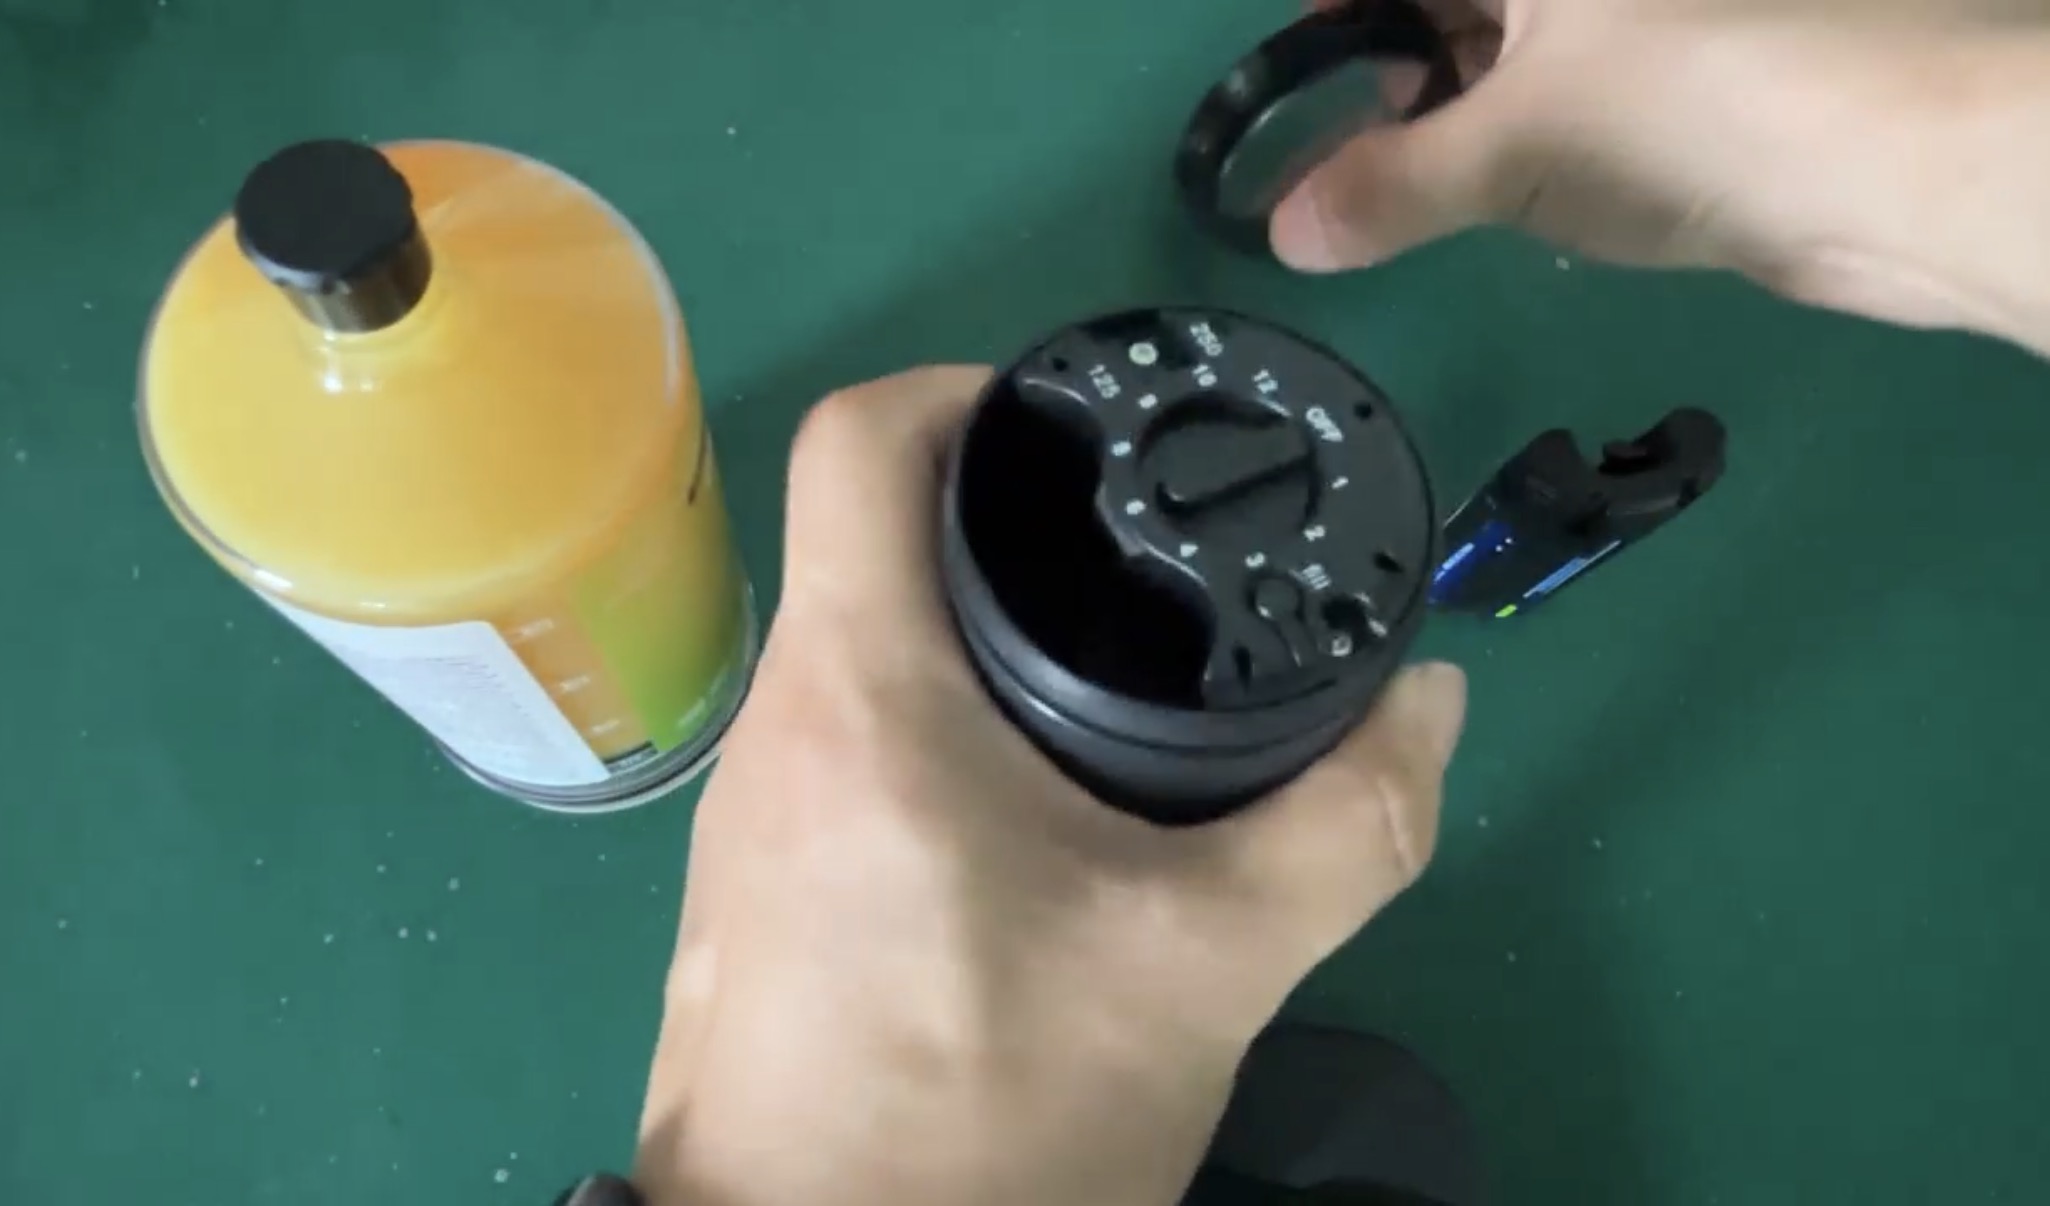
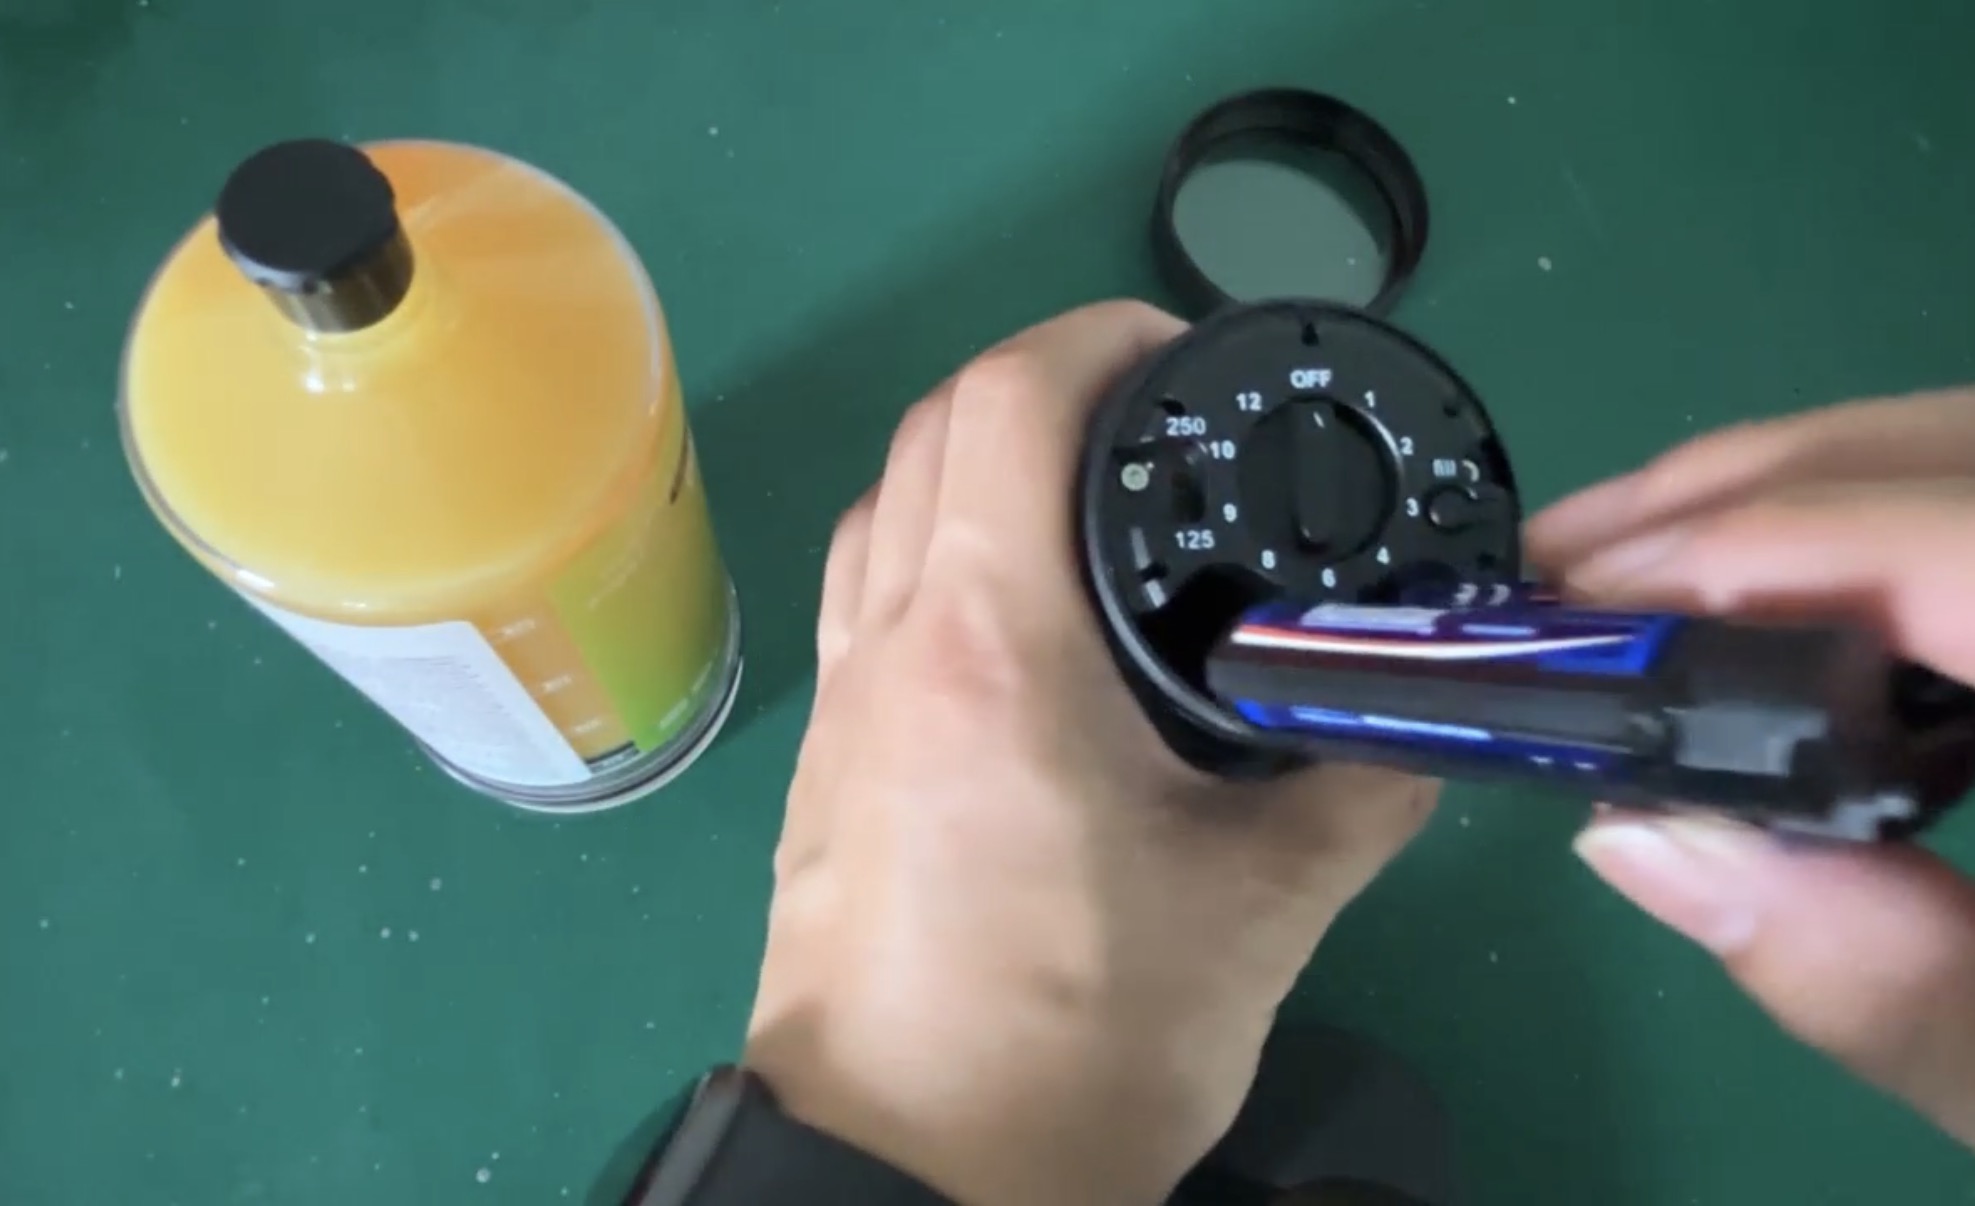
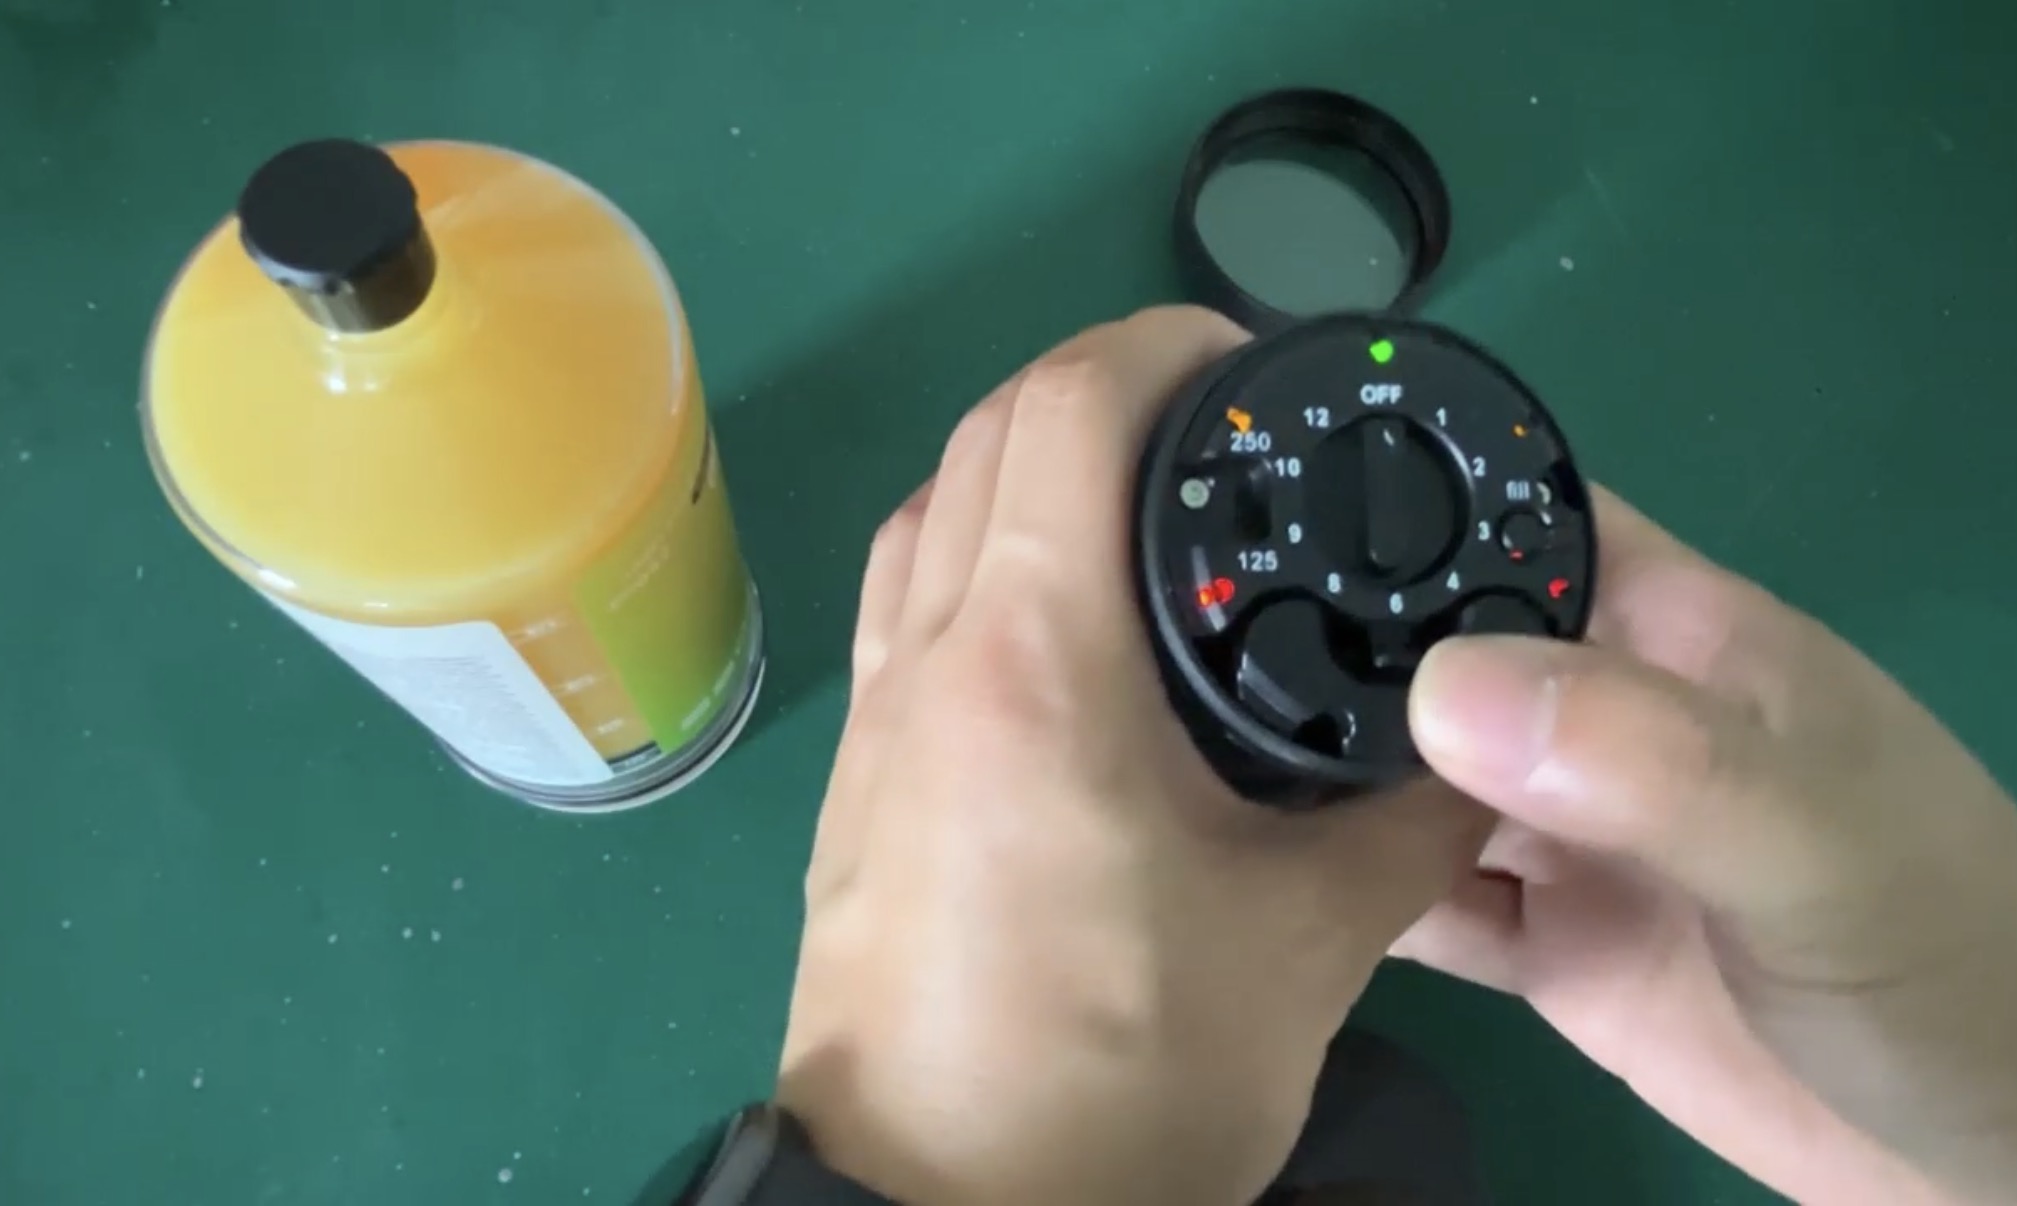
작동 드라이버 헤드의 캡을 열고 배터리를 삽입합니다. 배터리 삽입 시 각 램프 작동 여부를 확인합니다.
Open the drive unit cap and insert the battery. Verify LED indicators light up upon battery insertion.

3

기간 설정 / Set Period

Configure Dispensing Interval

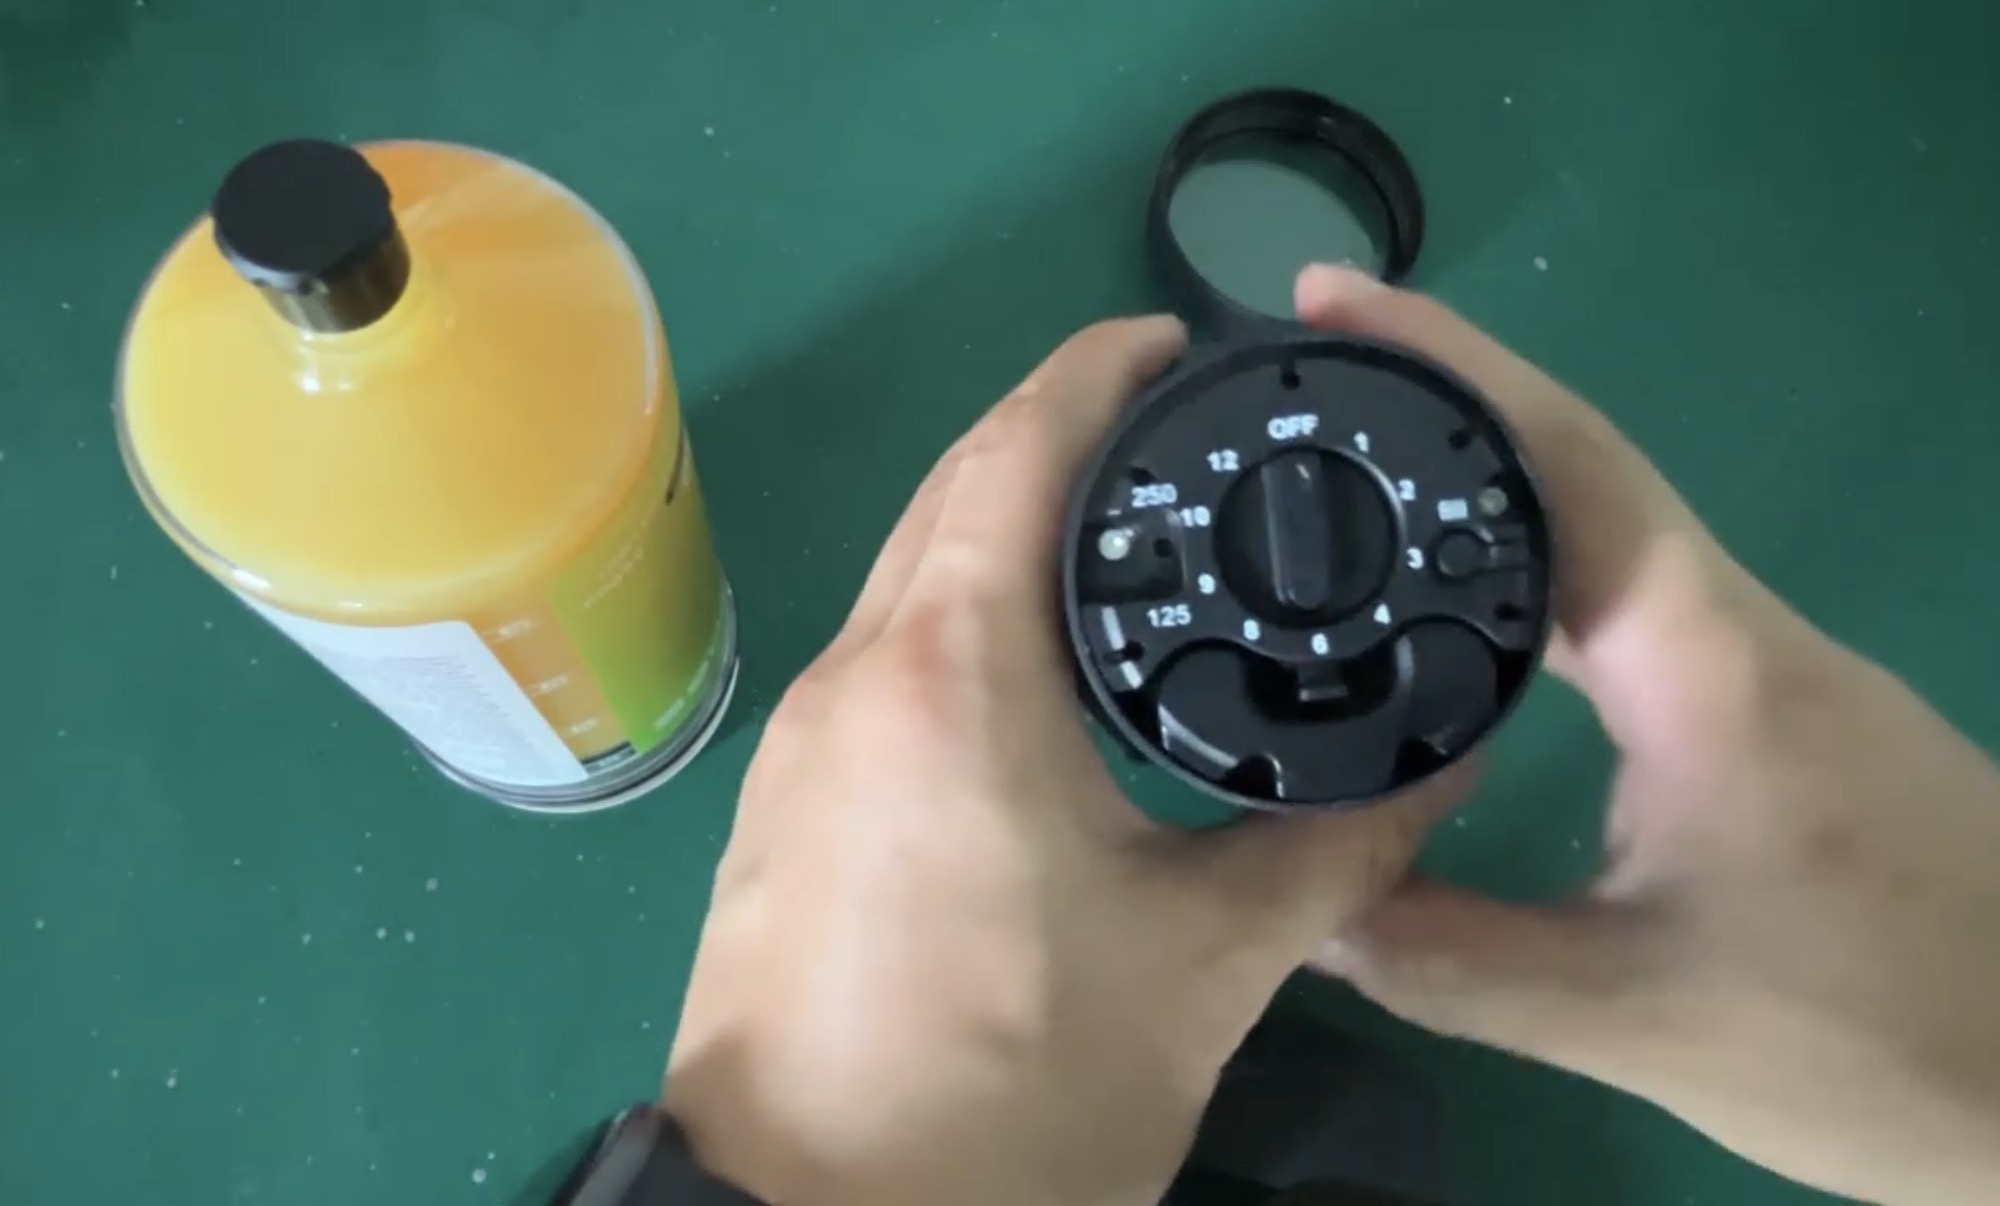
배터리 삽입 후 꾹 눌러서 고정을 확인합니다. 구리스 용기의 용량을 확인 후 원하는 개월 수를 설정합니다 (1~12개월).
Secure battery firmly. Confirm cartridge capacity and set desired dispensing interval (1–12 months).

4

장착 완료 / Mount & Start

Connect & Activate

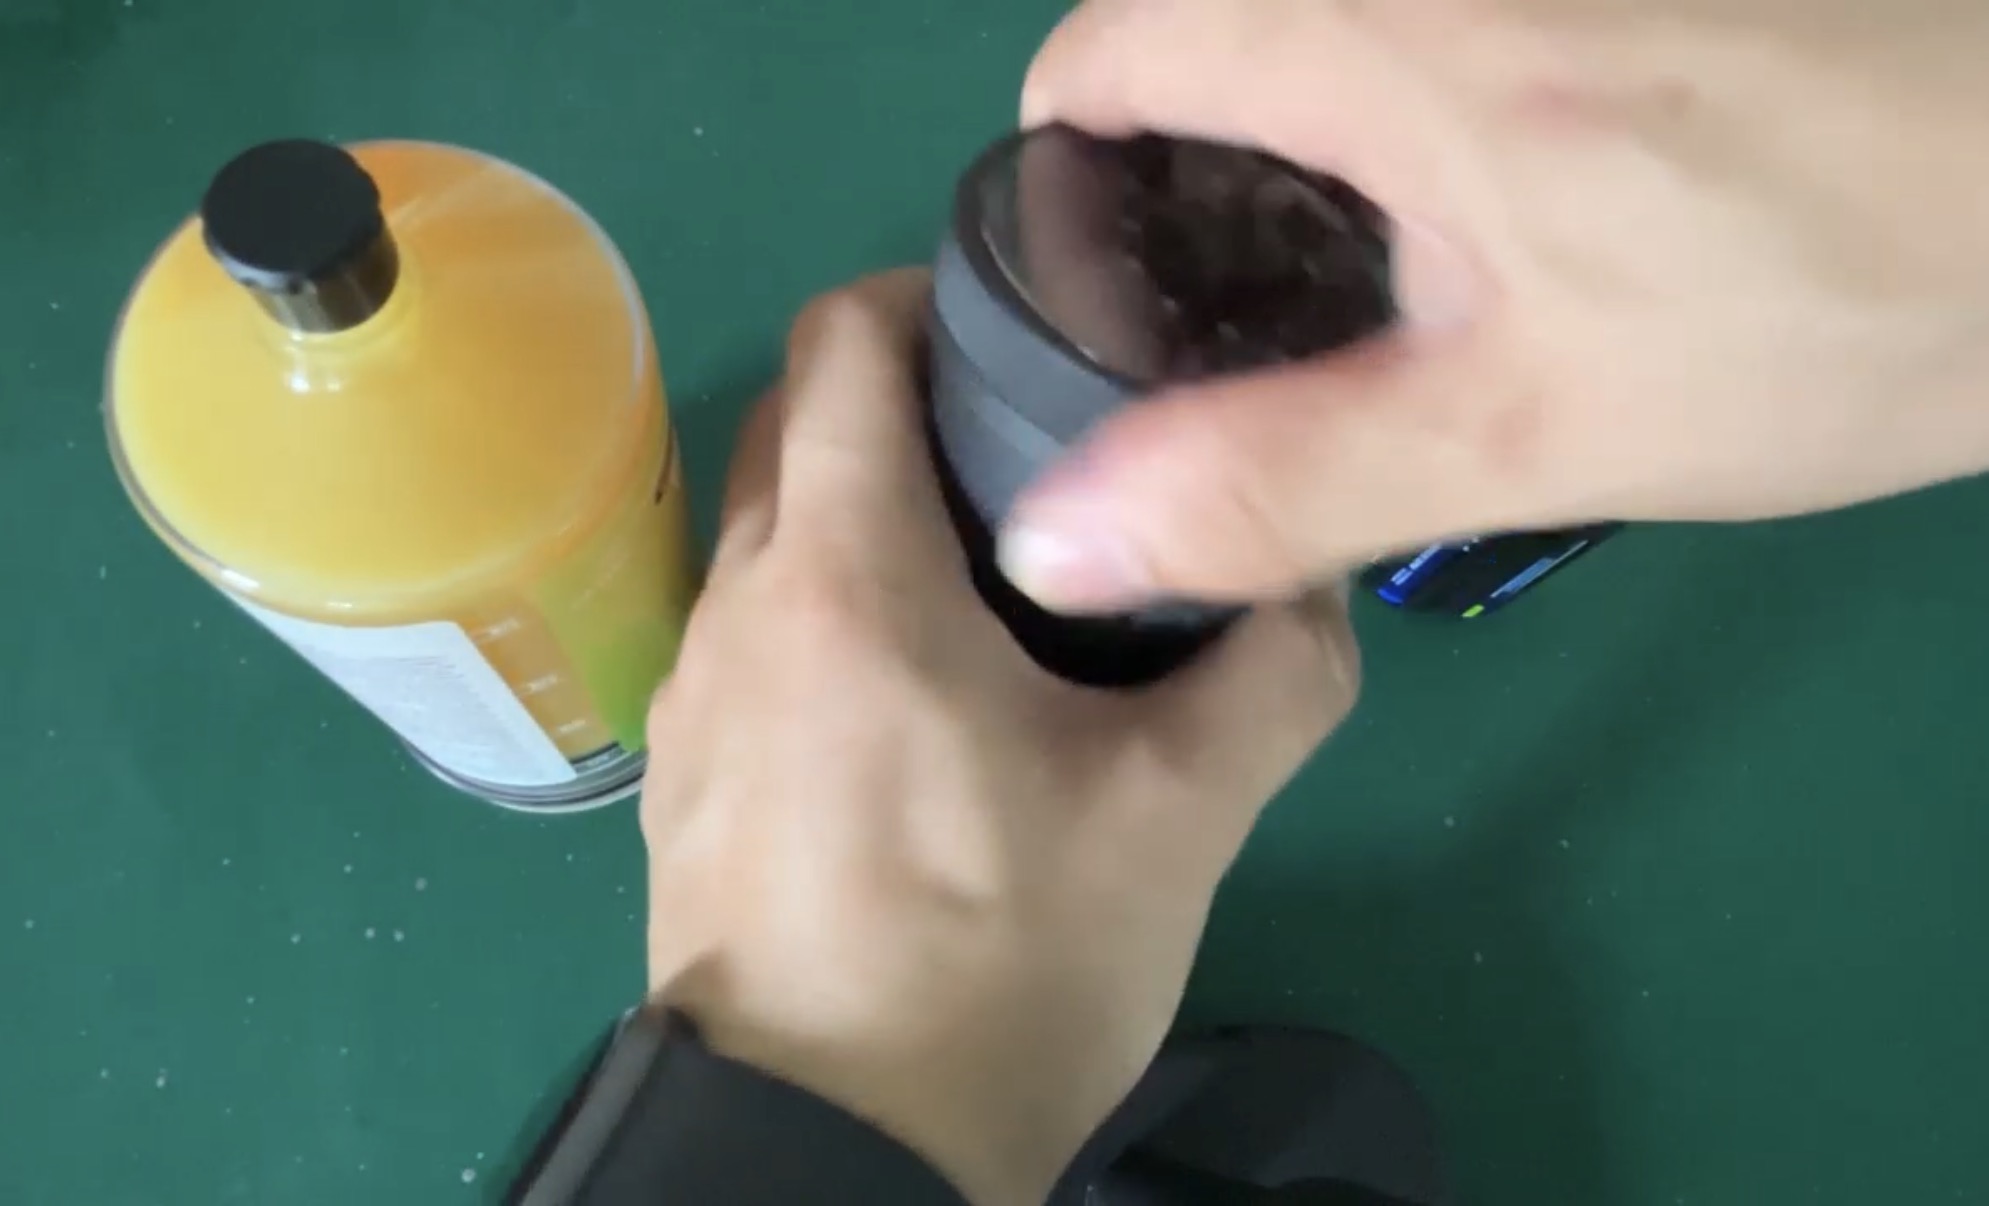
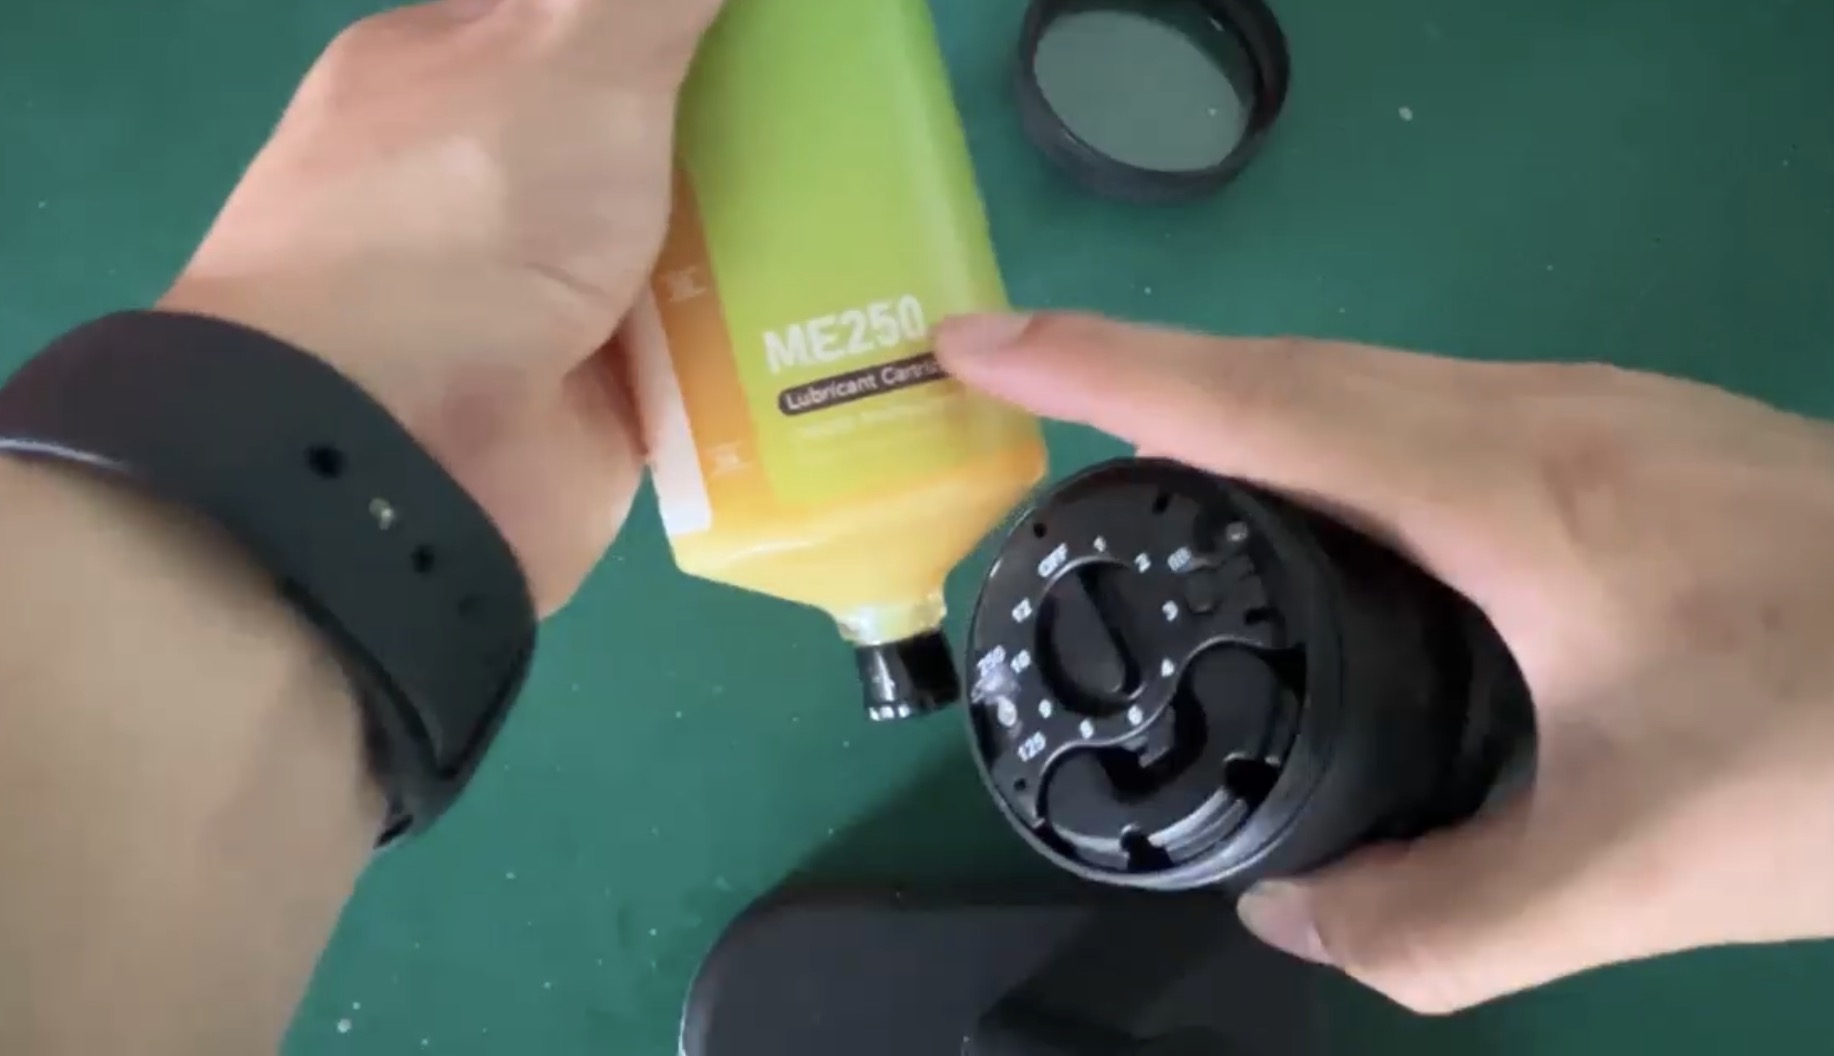
설정 완료 후 드라이버 헤드의 캡을 닫습니다. 구리스 용기와 헤드를 연결할 때 ▼ 표시가 나올 때까지 돌려서 체결합니다.
Close the drive unit cap. Connect cartridge to head by rotating until the ▼ indicator aligns.

🔌 호스 사용 시 설치 방법 / Installation with Hose Connection

자동 윤활 장치를 제품에 직접 연결하지 않고 호스 등을 사용하여 이격된 곳에 설치할 경우:

  1. 호스를 설치 포인트에 연결합니다.
  2. "fill" 버튼을 눌러서 호스에 구리스를 먼저 채웁니다.
  3. 호스 전체에 구리스가 채워진 것을 확인한 후 작동을 시작합니다.

When installing remotely via hose:
1. Connect hose to lubrication point.
2. Press the "fill" button to pre-fill the hose with grease.
3. Confirm hose is fully primed before starting operation.

Installation Photos 설치 사진

설치 사례 1
설치 사례 2
설치 사례 3
설치 사례 4
설치 사례 5
설치 사례 6
설치 사례 7
설치 사례 8

Frequently Asked Questions 자주 묻는 질문

설정된 윤활 주기와 사용 환경에 따라 다르지만, 일반적으로 카트리지 교체 주기와 비슷하게 유지됩니다. 교체 시 배터리도 함께 교체하는 것을 권장합니다.
Battery life depends on the set lubrication interval and conditions. Generally lasts as long as the cartridge. We recommend replacing the battery when changing the cartridge.

NLGI 000~2 등급의 구리스를 사용할 수 있습니다. 적용 환경과 설비에 맞는 구리스를 선택하시기 바랍니다.
Compatible with NLGI 000–2 grade greases. Please select grease appropriate for your application environment and equipment.

호스 길이에 따라 fill 버튼으로 사전 충전 시간이 달라집니다. 일반적으로 1~2m 이내의 호스 사용을 권장합니다. 더 긴 호스 사용 시 당사에 문의해 주세요.
The pre-fill time varies with hose length. We recommend hose lengths of 1–2m. For longer hoses, please contact us.

IP65는 국제 보호 등급으로, 6은 완전 방진, 5는 방수(저압 분사)를 의미합니다. 분진과 습기가 많은 산업 환경에서도 안전하게 사용할 수 있습니다.
IP65 is an international protection rating: 6 = fully dust-tight, 5 = protected against water jets. Safe for dusty and humid industrial environments.

구리스가 소진되면 ▼ 표시 반대 방향으로 돌려 카트리지를 분리하고, 새 카트리지를 ▼ 표시가 나올 때까지 돌려서 체결합니다. 교체 시 배터리도 확인하시기 바랍니다.
When grease is depleted, rotate the cartridge counter-clockwise to remove, then attach the new cartridge by rotating until the ▼ mark aligns. Check the battery during replacement.

설치 매뉴얼 다운로드 / Download Installation Manual

상세한 설치 설명서를 PDF 파일로 다운로드 받으실 수 있습니다.
Download the detailed installation manual as a PDF file.

📄 설치 설명서 다운로드 / Download Manual (PDF) 📚 전체 자료실 / All Downloads 📞 기술 지원 문의 / Technical Support